TweenerKing

What’s up, guys, this is Christian Alshon, and today I’m going to show you how I currently set up my pickleball paddle.
What You’ll Need
Setting up your paddle only requires a few materials:
- Lead tape (or tungsten tape if you prefer)
- Electrical tape
- Scissors
Personally, I still use lead because I had a bunch stocked up. I’m using a thin lead that’s 1/4 inch wide and about 5 mm thick. Ideally, you’d use half-inch tape, but since I have the thinner kind, I double it up when applying it (figure 1).

How Much Lead to Add
I keep one perfectly weighed piece of lead as a reference—it’s about 2 ounces for each side of the paddle. Overall, my paddle ends up around 8 ounces, with about 5.5 to 6 ounces in lead added just in the grip area. I’d say there are roughly four ounces of lead in total on the paddle head.
Lead Placement: Why I Changed It
This is where things really changed for me. I used to run lead tape up both sides of the paddle from the bottom near the throat. Placing lead there gave me more power and added stability.
But now? I put lead tape on all four corners of the paddle head. This adjustment doesn’t dramatically increase spin or power, but it makes the paddle feel more balanced overall. And because it’s more evenly weighted, the paddle hits with more consistency—even in those edge dead zones every paddle has.
Why does more weight equal more power? Think physics—more mass means more force when you swing. (Or more accurately, Force = Mass × Acceleration. Close enough!)
How to Apply the Lead Tape
Here’s the process:
- Cut the lead into equal pieces. I split one strip into four smaller sections to target each corner.
- Place two pieces per corner, aiming visually for consistency.
- Use your old paddle as a reference point to ensure you’re placing tape the same way each time.
- Always switch sides but stick to one reference to maintain balance.
Note: You’re not supposed to touch lead directly, so wash your hands after or use gloves. Tungsten tape is a good alternative if you want to avoid handling lead at all.
Seal It Up with Electrical Tape
I like using red electrical tape because it matches my paddle’s edge guard and gives it a clean, finished look. It also safely covers the lead tape—important since lead is toxic. Even with tungsten, I’d still use electrical tape just for the aesthetics.
My Paddle of Choice
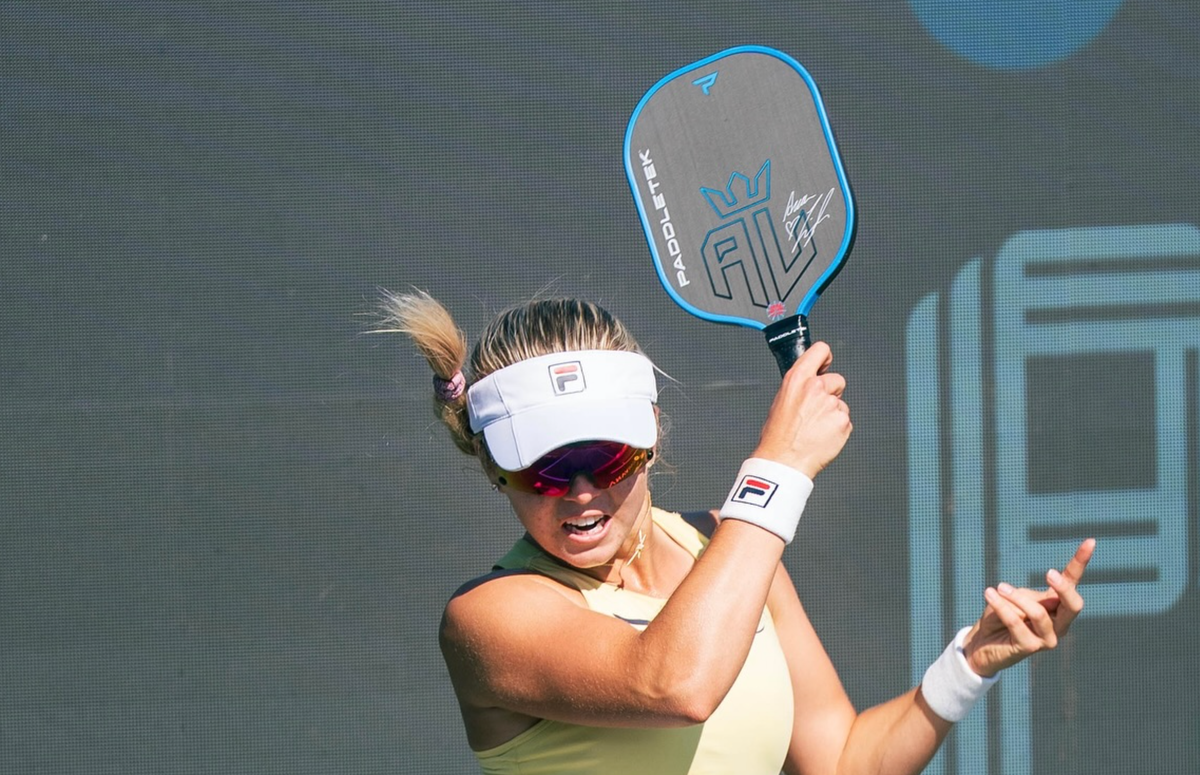
This is the Paddletek Bantam TKO CX, 12.7 mm version. I’m biased, but I think it’s the best paddle out there. If you want more control, there’s also a 14.3 mm version. The CX means the handle is extended—5.75 inches instead of the TKO C’s 5.25. I prefer the longer handle because I like to use both hands at times.
My Unique Grip Technique
Now, let’s talk about grip. This part’s weird—I admit it.
The standard factory grip has those overlay ridges, and I don’t like that. So, I take a second grip wrap and start wrapping it in a way that follows the seam line perfectly. My goal is to eliminate the overlap feel, so it feels the same on both sides—ideal for how I like to spin and switch grips mid-play.
It takes more time, but it gives me a symmetrical feel no matter which side I’m holding. After wrapping, I reapply the Paddletek finishing tape and check that everything feels even with my eyes closed.
Wrapping It All Up
So that’s how I set up my paddle. Thanks for sticking around, especially since I’m literally dripping sweat in the Arizona heat. If you want to win one of these paddles, I give one away every month to a lucky subscriber. Just subscribe to the channel. And if you’re into cool gear and tips, I’ve got a newsletter too—link’s below.
Thanks for watching. See you next time!
🎥 Check out full-version breakdowns on my YouTube channel, where I dive deeper with real-game analysis, and exclusive content.
Related Articles:
Anuncie Aqui / Advertise Here
Sua marca para o mundo Pickleball! / Your brand for the Pickleball world!

 English
  Spanish
  Portuguese
  German
  Italian
  Japanese
  French
  Polish
  Russian
  Netherlands
  Hungarian
  Turkish
  Videos
  Pickleball Portal


 English (US) ·
  Portuguese (BR) ·