
 English
  Spanish
  Portuguese
  German
  Italian
  Japanese
  French
  Polish
  Russian
  Netherlands
  Hungarian
  Turkish
  Videos
James Ignatowich

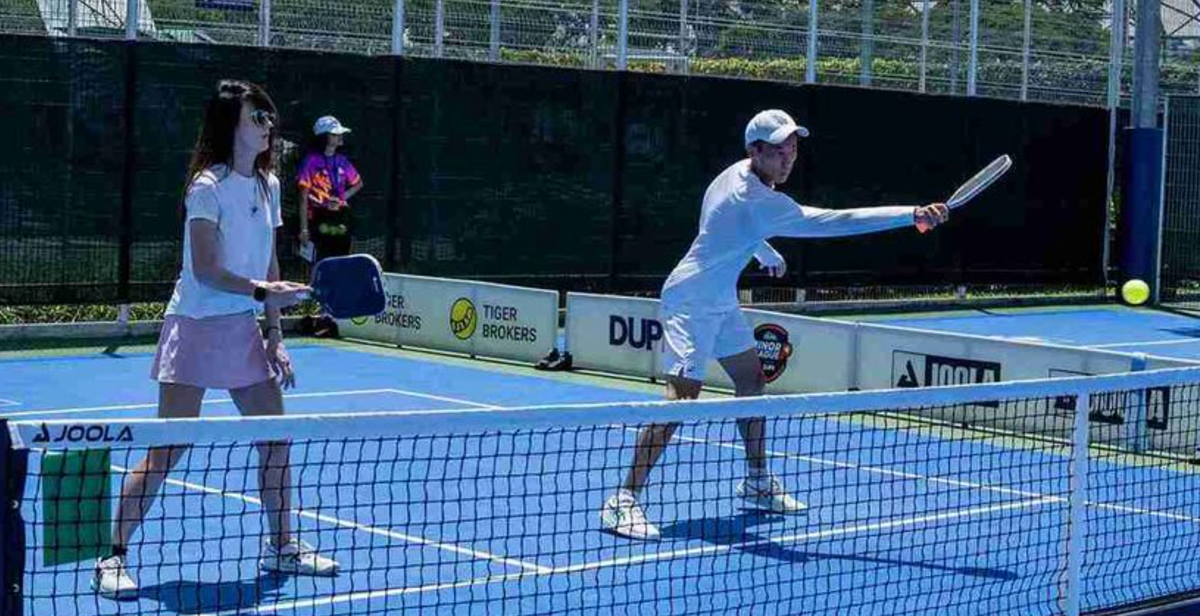
Hey guys, this is James Ignatowich. One of the most common ways players practice resets from the transition zone is with a cooperative drill: one player stands in the transition zone while the other is up at the kitchen, and they rally back and forth nicely. This works fine as a warm-up, but if you really want to get better at resets, you need to practice them in a non-cooperative way.
Why? Because when you’re playing real games, nothing about being stuck in the transition zone is cooperative. You’re fighting your way to the kitchen line, and your opponent’s goal is to keep you from getting there.
The “Oopsy Whoopsy Drop Drill”
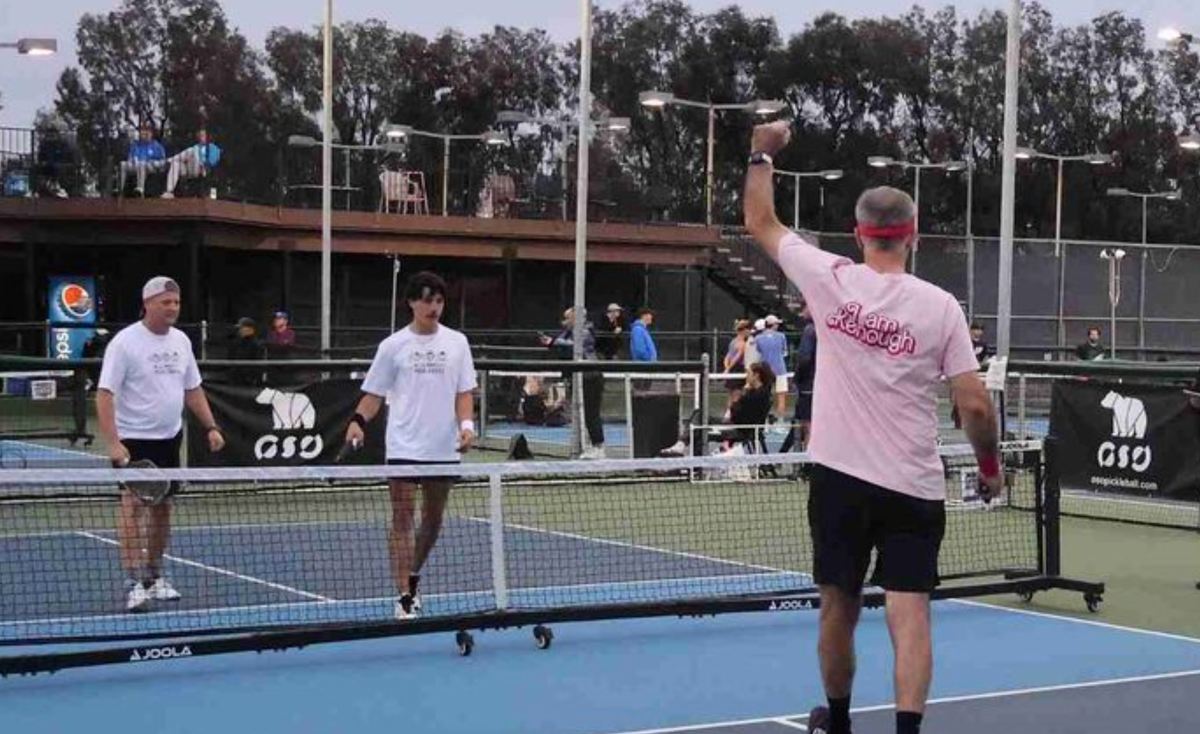
We call this next drill the “Oopsy Whoopsy Drop Drill,” a name coined by Max Freedman. Here’s how it works:

One player is at the kitchen line (the attacker), and the other is in the transition zone trying to work their way up. The attacker starts with a shoulder-high ball—could be a flick, a forehand, whatever—and hits it hard. The idea is to simulate a bad drop—an “oopsy whoopsy” moment—and force the defender to handle a fast, aggressive ball under pressure. From there, you just play it out. The player in the transition zone has to defend, reset, and earn their way to the kitchen.
This turns a passive drill into something dynamic and game-realistic. Instead of rallying cooperatively, you’re learning how to recover from a mistake and still find your way forward.
Keys to Hitting Drops Under Pressure
There are a few things I focus on when I’m trying to reset from the transition zone:
Keep the paddle low. Your opponent is usually aiming at your knees or feet. If your paddle starts up high, you’ll waste time bringing it down. Start low and stay efficient.
Adopt a wide stance. Think like a shortstop in baseball. A wider stance naturally keeps you lower and helps you stay balanced. Even without bending your knees, your body position is better when your feet are spread out.
Backhand Resets and Targeting the Middle
Personally, I hit more backhand resets than forehands, especially with two hands. I just feel like I have more control with a two-handed backhand. That’s a preference, but a lot of players find it more consistent.
I also aim more toward the middle of the court when resetting. Here’s why: the net is lower in the middle—34 inches compared to 36 inches on the sides. You’re not giving up angles or setting yourself up for an Erne. And if you can get the ball to bounce in the middle, it’s usually a safe play that limits your opponent’s options. Every inch matters.

Hitting an Effective Fourth Shot
Let’s talk about fourth shots—the return after your opponent drops.
Hit these hard, and aim for their shin or foot. That’s the zone that’s toughest to handle. Don’t take it easy just because your opponent hit a good drop. If your opponent is still back at the baseline, your job is to keep them there. A well-placed, aggressive fourth shot makes it harder for them to transition forward. Don’t let them off the hook.
Stay Aggressive as They Move Up
As your opponent works their way toward the kitchen, your mindset shouldn’t change. Just because they’re closer doesn’t mean it’s time to start dinking. If you’re at the kitchen line and you’ve got a ball at net height or higher, you should still attack.

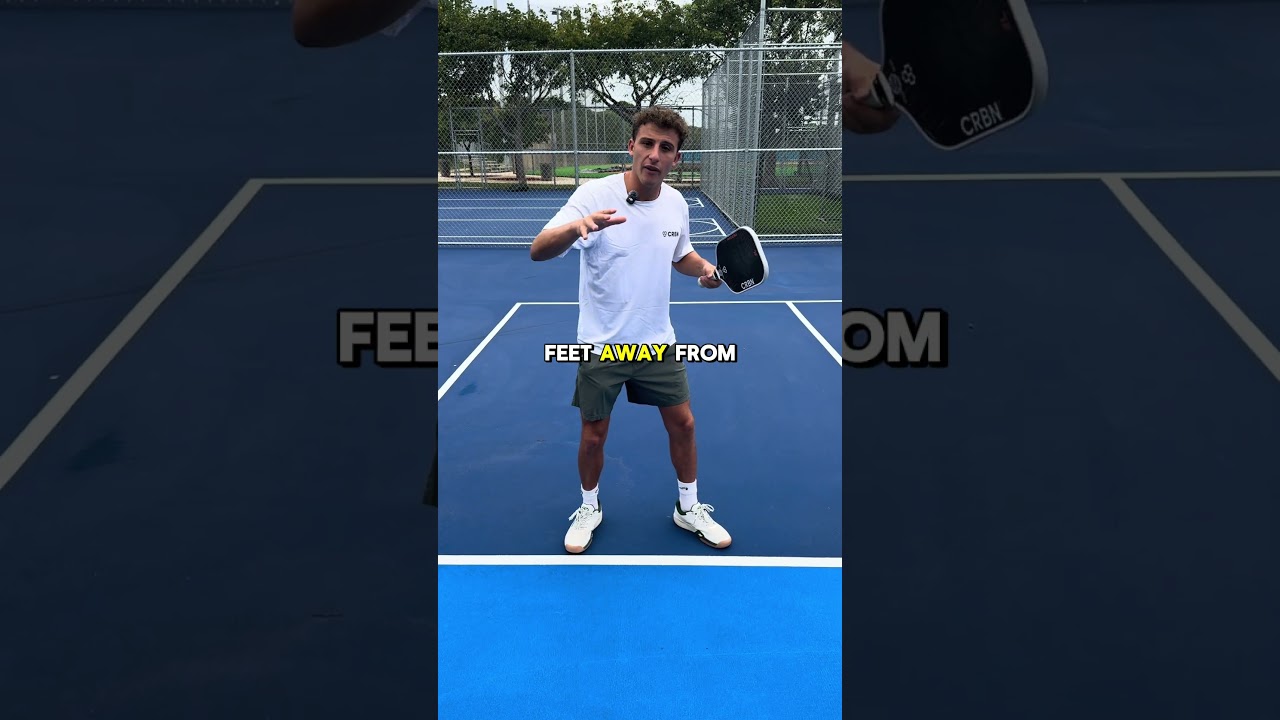
It doesn’t matter if they’re four feet behind the kitchen or creeping in—if you’re in a good position and can make contact out in front, it’s still your advantage. Don’t give that up.
Even if your opponent thinks their hands are better than yours, you’ve got to keep testing them. That pressure is what leads to mistakes.
Final Thoughts
Practice drills should replicate the chaos of real play, not the calm. Use drills like the Oopsy Whoopsy to simulate pressure situations, learn how to reset when things go wrong, and stay aggressive even as your opponent advances.
For exclusive content and special giveaways, make sure to check out the full James Ignatowich newsletter.
Related Articles:
Anuncie Aqui / Advertise Here
Sua marca para o mundo Pickleball! / Your brand for the Pickleball world!


 English (US) ·
  Portuguese (BR) ·